How to Shoot Time-Lapse Photography with a DSLR
As a photography enthusiast, one of my favorite techniques to experiment with is time-lapse photography. The ability to capture a long passage of time in a matter of seconds or minutes is truly magical, and when done right, it can turn mundane scenes into captivating visual experiences. When I first started, I had so many questions: What settings do I use? How long should my exposures be? Do I need any special gear? Over time, I’ve learned the ins and outs of shooting time-lapse with a DSLR, and I want to share everything I've discovered with you.
1. What You Need to Get Started
Before diving into the settings and techniques, it's important to understand the gear you’ll need for time-lapse photography. While you can technically shoot time-lapse with a basic point-and-shoot camera or even a smartphone, a DSLR will give you much more control over your settings and allow you to capture better quality images. Here’s what you’ll need:
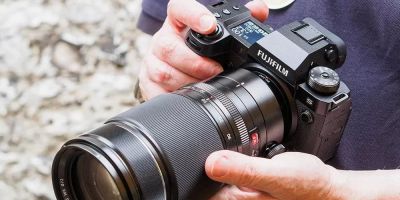
- DSLR Camera: A DSLR with manual settings is ideal. Cameras like the Canon EOS Rebel series, Nikon D-series, or similar work well for this type of photography.
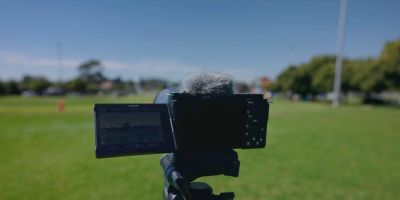
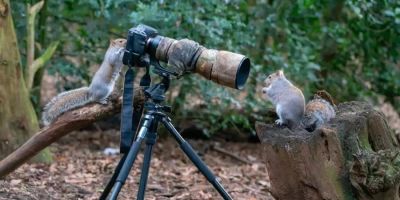
- Tripod: A sturdy tripod is essential to ensure your shots stay consistent throughout the shoot. Any movement in your camera will ruin the final effect.
- Intervalometer: If your camera doesn’t have a built-in interval timer, an intervalometer is a must-have tool. This will allow you to set the intervals at which the camera takes pictures automatically.
- Lens: Depending on the scene, a wide-angle lens or a zoom lens is preferred. A wide-angle lens allows you to capture large vistas, while a zoom lens is great for capturing specific details from a distance.
- Memory Card: Make sure you have a high-capacity memory card to store your photos, especially if you’re shooting a long time-lapse sequence.
2. Setting Up Your Camera for Time-Lapse Photography
Once you have your gear, the next step is configuring your DSLR for time-lapse photography. Setting up your camera properly is key to achieving the best results. Here are the main settings to focus on:
- Manual Mode: Always shoot in manual mode for complete control over your exposure. This ensures that your camera’s settings won’t change between shots, keeping your time-lapse smooth and consistent.
- Shutter Speed: The shutter speed depends on the type of scene you’re shooting. For daytime scenes, a shutter speed of around 1/60th of a second works well. For night shots, you’ll want a slower shutter speed, such as 10-20 seconds, to capture enough light.
- Aperture: Use a small aperture (higher f-number, like f/8 or f/11) for greater depth of field. This keeps your entire scene sharp, even if you’re photographing something that stretches far into the distance.
- ISO: Keep your ISO as low as possible (usually around ISO 100) to avoid introducing noise. If you’re shooting in low light, increase your exposure time rather than cranking up the ISO.
- White Balance: Set your white balance manually to avoid color shifts during the shoot. Use a preset like ‘Daylight’ or ‘Tungsten,’ depending on the lighting conditions.
3. Choosing the Right Interval Between Shots
One of the most important decisions when shooting time-lapse is determining how often your camera will take pictures. This is where your intervalometer comes in. The interval between shots will depend on how fast the action is moving in your scene. Here are some basic guidelines:
- Fast-moving subjects (e.g., clouds, traffic): Use shorter intervals, such as 1-2 seconds between each shot.
- Slow-moving subjects (e.g., flowers blooming, sunsets): Use longer intervals, such as 10-30 seconds between each shot.
- For longer sequences: You may want to set a longer interval if you're capturing slow changes over time (like the movement of the sun or stars). In some cases, an interval of several minutes is ideal.
4. Estimating the Length of Your Time-Lapse
Another key consideration is how long your final video will be and how many photos you need to take to achieve that. A typical time-lapse video runs at 30 frames per second (fps). If you’re shooting a 1-minute time-lapse video, that means you need 1,800 frames (30 fps × 60 seconds). Depending on your interval, this could mean shooting for several hours or even days. So, it’s important to estimate how long the project will take and ensure you have enough memory space on your card.
- Calculate the Total Shots: The total number of shots is the length of time you want to cover divided by the interval. For example, if you’re capturing a sunset, you might choose an interval of 2 minutes. If the sunset lasts for 2 hours, you’ll need 60 shots (2 hours × 60 minutes / 2-minute interval).
- Battery Life: Consider your battery life, as shooting a time-lapse can quickly drain power. Using a battery grip or bringing extra batteries is a good idea for longer shoots.
5. Post-Processing Your Time-Lapse
Once you’ve captured your time-lapse sequence, the next step is editing. I like to use software like Adobe Lightroom and Premiere Pro to process my images and compile them into a video. The process typically involves the following steps:
- Import Your Photos: Import your raw images into Lightroom or a similar program for color correction and exposure adjustments.
- Speed Up the Sequence: Using video editing software, you can compile the sequence and speed it up to create a smooth time-lapse video. You can also adjust the frame rate (30 fps is standard).
- Final Edits: You can add music, transitions, and other effects to enhance your time-lapse video.
6. Common Mistakes to Avoid
Throughout my time-lapse photography journey, I've made my fair share of mistakes. Here are some common pitfalls to avoid:
- Inconsistent Exposure: Always ensure your camera settings are locked in manual mode. Automatic exposure changes can ruin your time-lapse sequence.
- Incorrect Focus: Focus once, and then leave it alone. Autofocus can lead to jittery shots in your time-lapse.
- Ignoring the Weather: Make sure to check the weather forecast. Bad weather can affect the lighting and create inconsistent shots in your time-lapse sequence.
By following these tips and preparing ahead of time, you’ll be well on your way to shooting stunning time-lapse photography with your DSLR. Remember, time-lapse photography requires patience and planning, but the results are well worth the effort. So, grab your camera, set up your shot, and let time become your canvas.

