How to Create Light Painting Effects: A Step-by-Step Guide to Stunning Visuals
- 1. Getting Started: The Basics of Light Painting
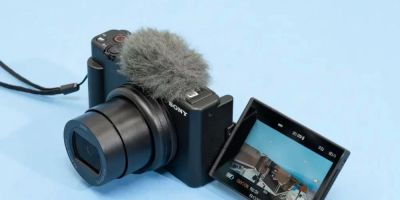
- 2. Essential Equipment for Light Painting Photography
- 3. Techniques to Create Unique Light Painting Effects
- 4. Creative Ideas for Light Painting Photography
- 5. Editing Tips to Enhance Your Light Painting Photos
1. Getting Started: The Basics of Light Painting
Light painting is a photography technique that involves using light sources, such as flashlights or LEDs, to create artistic images in a long exposure setting. It is a fun and creative way to capture stunning visuals by drawing or moving light through a dark scene. Whether you're a beginner or an experienced photographer, light painting opens up endless possibilities for creating one-of-a-kind photos.
The key to successful light painting is the use of a long exposure time. This allows the camera to capture the movement of light sources, resulting in vibrant streaks, glowing lines, or even intricate light patterns that seem to defy reality. To achieve the best results, a dark environment is essential, as it will help the light trails stand out clearly against the background.
2. Essential Equipment for Light Painting Photography
To create light painting effects, you don't need much—just a few key pieces of equipment. Here are the essentials:
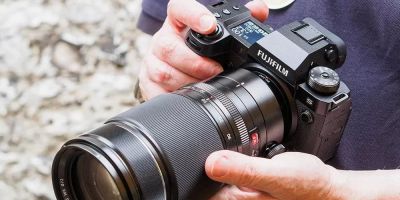
- Camera with Manual Settings: A camera that allows you to adjust the shutter speed is crucial for light painting. A DSLR or mirrorless camera works best, as it offers full manual control over exposure settings.
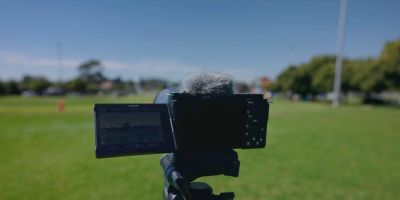
- Tripod: Since light painting involves long exposure times, a tripod is essential to keep your camera stable and prevent blurry images.
- Light Sources: Flashlights, LED wands, sparklers, or even smartphone flashlights can serve as your light sources. Experiment with different tools to create various effects.
- Dark Environment: For the light trails to show up clearly, you'll need to be in a low-light or dark setting. This can be outdoors at night or indoors in a dark room.
With these items, you're ready to start experimenting with light painting techniques!
3. Techniques to Create Unique Light Painting Effects
Once you have the right equipment, it's time to dive into the creative part—experimenting with different light painting techniques. Here are a few methods to get you started:
- Light Drawing: Use a small light source to "draw" shapes, letters, or patterns in the air while the camera captures the movement. Keep the light source close to you to create defined lines.
- Light Trails: With a moving light source, create long, flowing trails of light. You can move in circles, figure eights, or zig-zags to create dynamic patterns.
- Silhouette Painting: Position your light source behind an object or person to cast a silhouette. This effect works great with smoke, mirrors, or reflective surfaces.
- Spinning Light: For a dramatic effect, attach a light source to a string or rope and spin it around. The result is a mesmerizing circle of light that appears to be frozen in time.
Don't be afraid to mix and match techniques. The beauty of light painting is that it encourages experimentation, and every shot can be a unique work of art!
4. Creative Ideas for Light Painting Photography
Light painting is all about creativity. Here are some inspiring ideas to take your light painting to the next level:
- Use Colored Lights: Experiment with colored filters, LED lights, or even glow sticks to create vibrant hues in your light trails. Try combining different colors to make your images pop.
- Incorporate Props: Add props to your light painting scene, such as spinning hula hoops, umbrellas, or light-covered objects. These props can interact with the light trails to add more dimension and interest.
- Light Painting Portraits: Try using light painting to create portraits with dramatic lighting effects. This works best with long exposure times and a controlled light source that illuminates your subject creatively.
- Outdoor Light Painting: Take your light painting outside to capture natural elements like trees, water, or the night sky as your background. The contrast of natural landscapes with artificial light can create stunning visual effects.
5. Editing Tips to Enhance Your Light Painting Photos
While light painting relies heavily on your camera settings and in-the-moment creativity, post-processing can further enhance your images. Here are some editing tips to make your light painting photos even more striking:
- Adjust Exposure and Contrast: Increase the exposure to bring out the brightness of the light trails. Boosting contrast can make the light stand out more against the dark background.
- Remove Noise: Long exposure shots may introduce some noise, especially in the dark areas. Use noise reduction tools in editing software to clean up the image.
- Enhance Colors: If you've used colored lights, enhance the saturation of those colors to make them more vivid. This can really make your light painting stand out.
For more ideas and the best equipment to get started with light painting photography, visit our store at Photo Studio. We offer a range of tools and products to help you capture stunning light painting effects with ease.

